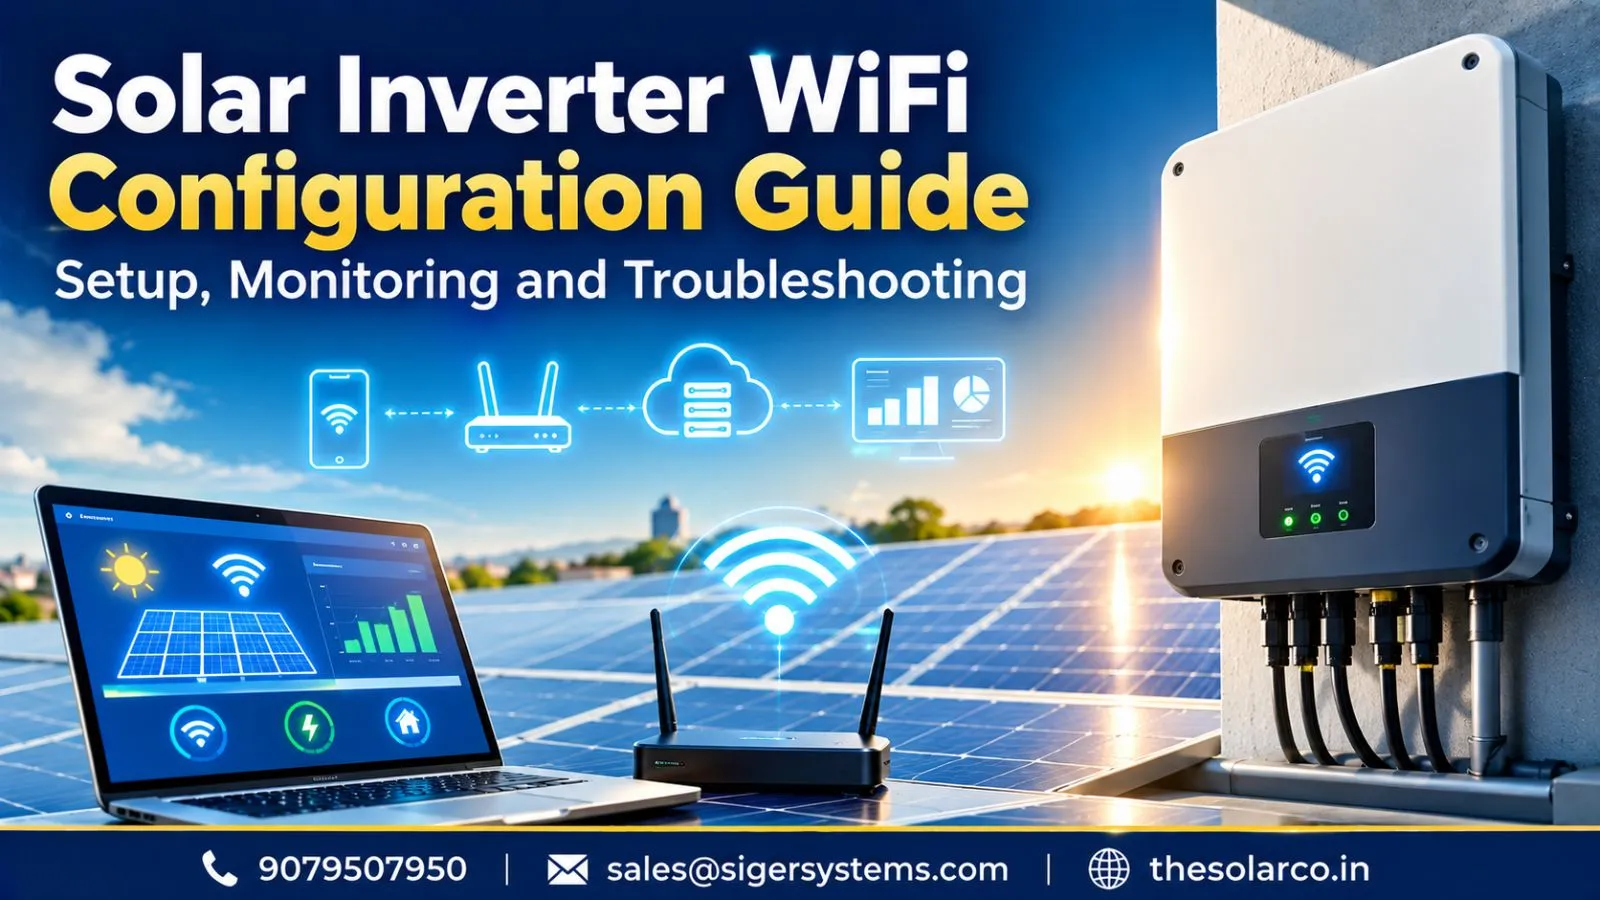
Modern solar systems increasingly include smart monitoring features that allow homeowners and businesses to check system performance remotely. A WiFi-enabled inverter can connect the solar installation to a local internet network and send operational information to a monitoring platform or mobile application.
Solar inverter WiFi configuration is the process of connecting a compatible inverter to a wireless network so that users can access solar generation and system-status information remotely.
Depending on the inverter manufacturer and model, the configuration process can involve connecting the inverter to a router, using a dedicated WiFi dongle, scanning a QR code, or configuring the connection through a manufacturer’s mobile application.
Once connected correctly, users may be able to monitor:
- Solar electricity generation
- Inverter operating status
- Daily and monthly production
- System alerts
- Historical performance
- Energy trends
The exact features vary by inverter model and monitoring platform.
Understanding Smart Inverter Connectivity
A smart inverter does more than convert electricity generated by solar panels into usable electrical power.
It can also collect operational data and communicate that information to a monitoring platform.
Depending on the equipment, connectivity may be provided through:
- WiFi
- Ethernet
- Mobile networks
- Bluetooth for initial setup
- Dedicated communication devices
WiFi is popular for residential and smaller commercial installations because it can provide convenient internet connectivity without requiring additional wired network infrastructure.
However, the inverter must be located within a suitable wireless range, and the network configuration needs to be compatible with the device.
Why WiFi Connection Is Used in Solar Systems
A connected inverter can make solar system management easier.
Without remote connectivity, users may have limited visibility into system performance unless they physically check the inverter display.
With WiFi connectivity, available monitoring data can be accessed through a compatible application or online dashboard.
This can help users identify:
- Unexpected generation changes
- Inverter alerts
- Communication failures
- Production trends
- System downtime
WiFi connectivity does not directly increase the electricity-generating capacity of solar panels. Its primary purpose is monitoring, communication, and system visibility.
Role of Mobile Apps in Solar Monitoring
Most modern smart inverter systems use a dedicated monitoring application or web dashboard.
After successful setup, the application may show information such as:
- Current generation
- Daily energy production
- Monthly production
- Historical data
- Inverter status
- Fault notifications
The available features depend on the inverter manufacturer.
For homeowners, this provides a convenient way to check whether their solar system is operating normally without accessing the rooftop or inverter physically.
How to Connect Solar Inverter With WiFi
The exact setup process differs between manufacturers, but the general procedure is similar.
Before starting, users should check the inverter’s installation manual and manufacturer’s instructions.
Preparing Inverter and Network Settings
Before beginning configuration, make sure:
- The inverter is powered on
- The monitoring device is installed correctly
- The WiFi router is working
- The network password is available
- The smartphone has the required monitoring app
- The inverter is within appropriate network range
Some inverter models may support only particular WiFi frequencies or require a dedicated communication device.
Therefore, compatibility should always be confirmed before attempting configuration.
If the system was professionally installed, the installer may already have completed the initial communication setup.
Step-by-Step WiFi Connection Process
While the exact interface differs, a typical setup may follow these steps:
Step 1: Download the monitoring application
Install the official application recommended for your inverter model.
Step 2: Create or access your account
Some platforms require users to register an account before connecting the system.
Step 3: Select the inverter or communication device
The application may ask you to scan a QR code, enter a device number, or select a nearby device.
Step 4: Connect to the inverter’s setup network
Some systems temporarily create a local wireless network for configuration.
Step 5: Enter your WiFi details
Select the appropriate home or business network and enter its password.
Step 6: Complete the connection
The inverter or communication device should connect to the router and begin communicating with the monitoring platform.
Step 7: Verify the monitoring data
After configuration, check whether the application displays inverter status and generation information.
These steps are general. The actual procedure can differ significantly between inverter brands and models.
Connecting Inverter With Monitoring Application
After the inverter has internet access, it may need to be linked to a monitoring account.
This can involve:
- Device registration
- QR code scanning
- Serial number entry
- Installer account authorization
- Site creation
- Plant or system configuration
Once linked successfully, the monitoring platform can begin receiving inverter data.
If the app shows the inverter as offline even though the WiFi connection appears successful, the issue may involve account configuration, communication settings, internet access, or the monitoring device itself.
Benefits of WiFi Enabled Solar Inverter
WiFi connectivity can make solar system management considerably more convenient.
Real-Time Solar Generation Tracking
A connected inverter can provide near-real-time or periodically updated information about electricity generation.
Users can monitor:
- Current system output
- Daily generation
- Monthly generation
- Historical production
- System status
This helps property owners understand how their solar system performs throughout the day.
For example, generation generally rises after sunrise, reaches higher levels around periods of stronger sunlight, and declines toward sunset.
Actual production depends on sunlight, weather, system design, shading, panel orientation, and other factors.
Remote System Monitoring and Control
One major advantage of smart connectivity is remote access.
A homeowner can potentially check the system while away from the property.
Businesses can also use centralized monitoring to track multiple systems or identify equipment that requires attention.
However, available remote-control functions vary by inverter and installation.
Some systems primarily provide monitoring, while others may support additional configuration or control features.
Quick Identification of Performance Issues
Monitoring alerts can help identify unusual system conditions more quickly.
For example, users may receive notifications related to:
- Inverter faults
- Communication problems
- Unexpected shutdowns
- Low generation
- Device offline status
An alert does not always mean that the solar panels themselves are defective.
Weather, internet connectivity, monitoring hardware, and other technical conditions can also affect reported data.
Professional diagnosis may be necessary when an alert persists.
Common Problems During Solar Inverter WiFi Setup
WiFi configuration is usually straightforward when the network and inverter are compatible, but connectivity issues can occur.
WiFi Connection Failure Issues
One common problem is that the inverter cannot connect to the router.
Possible causes include:
- Weak WiFi signal
- Incorrect password
- Unsupported network frequency
- Router configuration
- Distance between router and inverter
- Temporary communication failure
First, verify the network credentials and check whether the inverter is within adequate wireless range.
If the problem continues, refer to the inverter manufacturer’s configuration instructions.
App Configuration and Login Problems
Sometimes the WiFi connection is working, but the monitoring application does not display the system correctly.
Potential causes include:
- Incorrect account details
- Device not registered
- Incorrect QR code or serial number
- Incomplete plant configuration
- Server-side communication issues
- App permissions or outdated software
Users should verify that they are using the official monitoring application and that the inverter has been correctly associated with the appropriate account.
Network Range and Connectivity Challenges
The location of the inverter can make WiFi connectivity difficult.
For example, an inverter installed in a garage, basement, rooftop enclosure, or other area far from the router may receive a weak signal.
Possible solutions may include:
- Improving router placement
- Using an appropriate WiFi extender
- Using a wired Ethernet connection if supported
- Using an approved communication accessory
- Relocating network equipment where practical
The best solution depends on the inverter and property layout.
How Smart Monitoring Improves Solar Performance
Monitoring does not directly make solar panels generate more electricity. Instead, it provides valuable information that can help users and service teams manage the system more effectively.
Tracking Daily Energy Production
Daily generation data allows users to understand system behavior.
By reviewing historical information, users can identify changes that may deserve attention.
For example, if generation suddenly falls compared with similar weather conditions, possible causes can be investigated.
These could include:
- Heavy dust
- New shading
- Equipment faults
- Inverter problems
- Electrical issues
- Weather changes
Performance should always be evaluated in context rather than based on a single day’s output.
Understanding Solar Performance Reports
Monitoring platforms may provide charts and reports showing production over different periods.
Users can compare:
- Day-to-day generation
- Weekly production
- Monthly output
- Seasonal trends
- Historical performance
These reports can be useful when evaluating whether a solar installation is operating as expected.
For commercial systems, performance reporting can also help facility managers maintain records and identify underperforming equipment.
Improving System Management Through Data
Good monitoring turns raw generation data into useful information.
Instead of waiting for a visible failure, users can identify abnormal trends and investigate them earlier.
A practical solar management process can therefore be:
Monitor → Compare → Identify → Investigate → Resolve → Verify
This is particularly useful for larger solar installations where manually inspecting every component on a regular basis is impractical.
For solar systems installed across India, including residential and commercial installations in Jaipur, smart monitoring can also help owners understand how seasonal weather and environmental conditions affect generation.
Solar Inverter WiFi Troubleshooting Checklist
If your inverter is not appearing online, work through the following basic checks:
| Check | What to Verify |
|---|---|
| Inverter power | Confirm the inverter is operating |
| Router | Check that internet service is active |
| WiFi signal | Verify adequate network strength |
| Password | Re-enter the correct network password |
| Compatibility | Check supported network frequency |
| Monitoring app | Confirm the official app is being used |
| Account | Verify device registration |
| Device status | Check whether inverter shows online/offline |
| Firmware/app | Check for applicable updates |
| Persistent fault | Contact the installer or qualified technician |
Do not open the inverter or alter internal electrical connections simply to resolve a connectivity problem.
A WiFi issue and an electrical fault are not necessarily the same thing. If the inverter shows a persistent hardware or electrical warning, professional inspection is recommended.
Final Thoughts
Solar inverter WiFi connectivity has become an important part of modern solar system monitoring. A properly configured connection allows homeowners and businesses to view generation data, monitor inverter status, receive alerts, and review historical performance without physically accessing the equipment. While the exact setup varies by inverter manufacturer, most systems involve connecting a compatible communication device to a WiFi network and linking it with an official monitoring application. A stable network connection and correct device configuration are essential for reliable data reporting.
If WiFi connectivity fails, users should begin with simple checks such as router availability, signal strength, network credentials, application settings, and device registration. More serious inverter warnings or electrical problems should not be handled as ordinary connectivity issues and should be inspected by qualified professionals. For solar installations in India, including homes and businesses in Jaipur, smart monitoring can provide useful visibility into seasonal generation patterns and equipment performance. When combined with regular maintenance and professional servicing, connected monitoring can support better long-term solar system management.
Frequently Asked Questions About Solar Inverter WiFi Configuration
1. How do I connect my solar inverter to WiFi?
The process depends on the inverter model. Generally, you need to power the inverter, install its official monitoring application, connect to the inverter or communication device, select the appropriate WiFi network, enter the password, and verify that the inverter appears online in the monitoring platform.
2. Why is my solar inverter not connecting to WiFi?
Common reasons include weak signal strength, incorrect WiFi credentials, unsupported network settings, router configuration issues, or problems with the inverter’s communication device. Check the manufacturer’s instructions and network connection before contacting technical support.
3. Can I monitor my solar system without WiFi?
Some solar systems support alternative communication methods such as Ethernet, cellular connectivity, or local Bluetooth communication. The available options depend on the inverter and monitoring hardware. Check your equipment specifications to determine which connection methods are supported.
4. Does WiFi make solar panels produce more electricity?
No. WiFi connectivity does not directly increase the physical generation capacity of solar panels. Its main purpose is to provide monitoring and communication. However, access to performance data can help users identify problems and address potential performance losses more quickly.
5. What should I do if my inverter shows offline in the monitoring app?
First check whether the inverter is powered on, the router has internet access, and the WiFi signal is adequate. If the device remains offline, verify the monitoring account and communication settings. Persistent technical or electrical faults should be handled by the installer or a qualified solar technician.