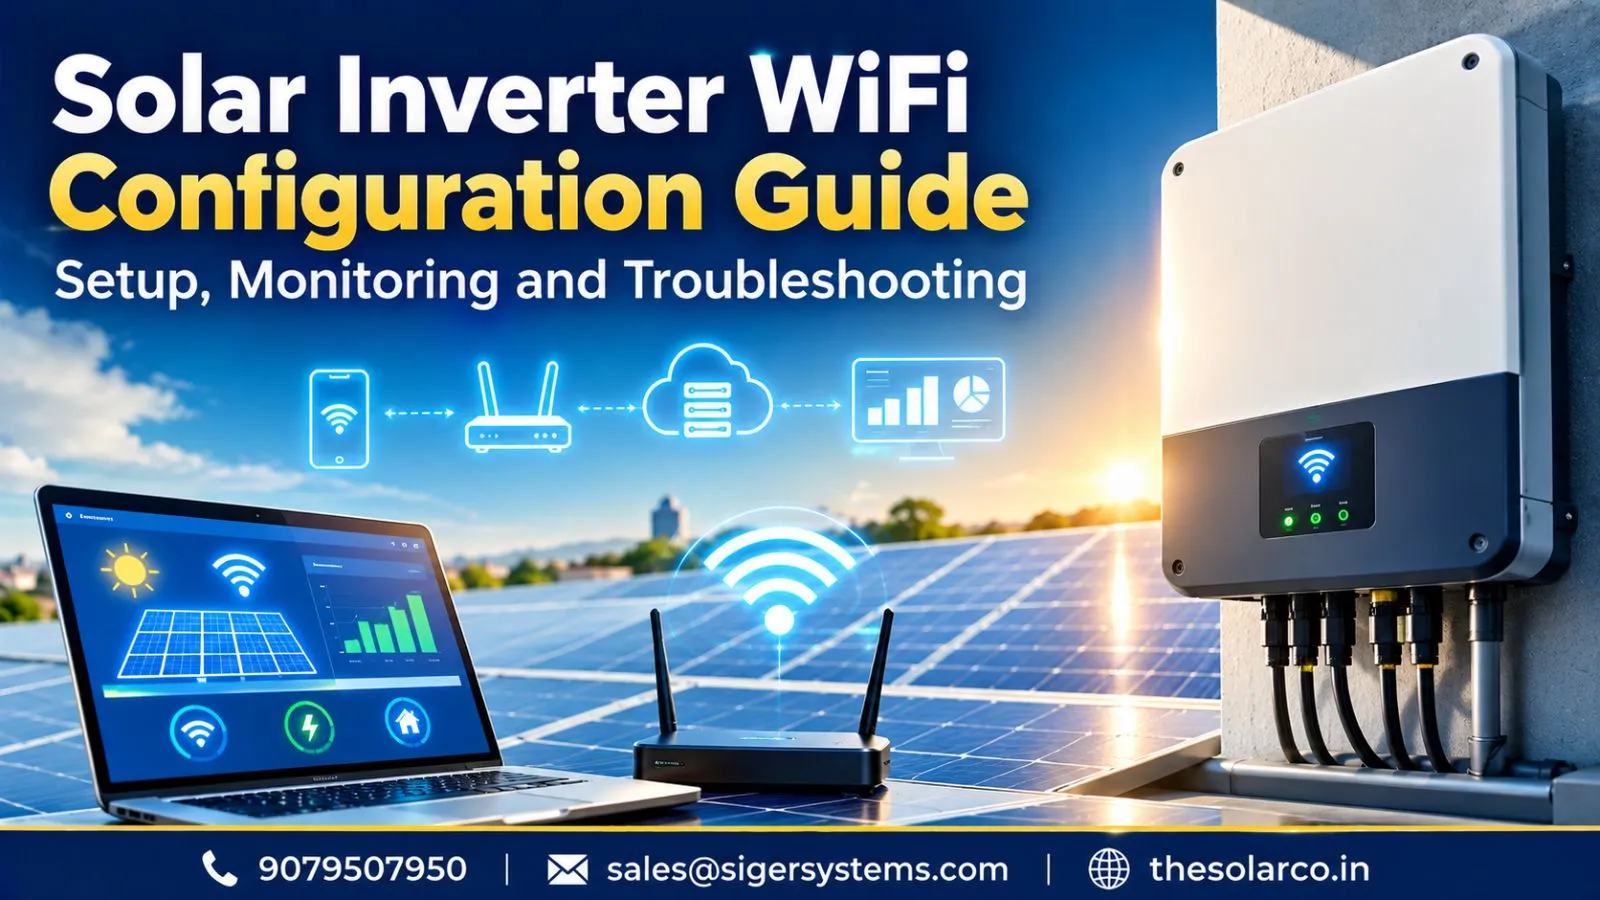
Modern solar power systems increasingly use smart monitoring to help homeowners and businesses track electricity generation and identify performance issues. Solar inverter WiFi configuration connects a compatible inverter or its communication device to an internet network, allowing system data to reach a monitoring application or online dashboard.
Depending on the inverter model, setup may involve a built-in WiFi feature, a dedicated WiFi dongle, a QR code, Bluetooth pairing or a manufacturer’s mobile application. Once connected, users can check solar generation, inverter status, historical production and available fault alerts remotely.
However, WiFi monitoring does not directly increase the electricity produced by solar panels. Its main benefit is visibility: it helps users understand system performance and investigate unexpected changes more quickly.
This guide explains how to configure solar inverter WiFi, connect a monitoring app, troubleshoot common network problems and maintain reliable remote monitoring.
What Is Solar Inverter WiFi Configuration and Why Does It Matter?
Understanding Smart Inverter Connectivity
A smart solar inverter converts the DC electricity generated by solar panels into usable AC electricity and can also collect operating data. A communication feature sends this information to a monitoring platform.
Depending on the equipment, connectivity may use:
- WiFi through a built-in feature or communication dongle
- Ethernet through a supported wired network connection
- Cellular communication through a compatible modem or logger
- Bluetooth for local pairing or initial configuration
A common monitoring setup follows this path:
Solar inverter → Communication device → Internet connection → Monitoring platform → Mobile app
Not every inverter uses a separate dongle. Some have integrated communication hardware, while others require an additional accessory that may not be included in the original quotation.
Before starting, check the exact inverter model, communication hardware and official setup instructions.
Benefits of Connecting an Inverter to WiFi
A connected inverter can make solar system management more convenient by providing access to available performance data without requiring the owner to visit the equipment.
Depending on the model and monitoring platform, users may be able to view:
- Current or recently updated solar power output
- Daily, monthly and cumulative energy generation
- Inverter operating status
- Historical production charts
- Fault notifications and communication alerts
- Battery status on supported hybrid systems
For homes, this can make it easier to understand daily solar production. Businesses with multiple installations may benefit from centralised monitoring and faster identification of systems that require attention.
Requirements Before You Begin
Preparation can prevent common setup problems. Before configuring the connection, make sure you have:
- The inverter model and its communication device details
- The manufacturer’s official monitoring application
- Access to the required monitoring account
- The WiFi network name and password
- A working router and internet connection
- A suitable wireless signal near the communication device
Some inverters or WiFi dongles support only specific wireless frequencies or security settings. Others require a dedicated installer account for initial commissioning.
For example, some Solis WiFi dataloggers use a 2.4 GHz network during configuration. This is not a universal rule for every inverter, so check the documentation for your exact model before changing router settings.
How to Connect a Solar Inverter to WiFi Step by Step
Step 1: Install the Official Monitoring Application
Find the monitoring application specified by your inverter manufacturer. Use the official app store or the manufacturer’s website to verify the correct application.
Create an account or sign in using the credentials required by the platform. Some systems distinguish between installer and owner accounts, so you may need the installer to complete initial registration or transfer monitoring access.
Avoid using unofficial applications or sharing account passwords unnecessarily.
Step 2: Identify the Inverter or Communication Device
Depending on the system, the app may ask you to scan a QR code, enter a serial number or select a device during setup.
Some communication devices create a temporary WiFi network that your phone must join. Others use Bluetooth or a local configuration interface to transfer the router details.
Follow the instructions for your exact model. Do not assume that the network name, default password or configuration address is the same across different manufacturers.
If the app cannot detect the device, check that you are close enough to the inverter and that the communication hardware is powered and installed correctly. Do not open the inverter enclosure or disconnect electrical components to investigate a connectivity issue.
Step 3: Enter the WiFi Network Details
Once the inverter or communication device enters its setup mode, select the appropriate home or business network and enter the password.
Check that the network meets the device’s requirements. Depending on the model, compatibility may be affected by wireless frequency, router security settings, signal strength or network restrictions.
If the router combines 2.4 GHz and 5 GHz networks under one name, consult the inverter manual to determine whether separate network settings are required.
Avoid changing advanced router settings unless necessary. If a configuration change is required, make sure you understand how it may affect other connected devices.
Step 4: Verify the Connection and Monitoring Account
After submitting the network details, allow the communication device time to connect to the router and monitoring platform.
The app may display a connecting, pending or offline status temporarily while the device establishes communication. Wait for the period specified by the manufacturer before repeating the setup.
Once the connection is established:
- Confirm that the correct inverter or plant appears in the account.
- Check whether the device status changes to online.
- Review the latest available generation data.
- Confirm that the displayed model or device identifier matches your system.
- Check whether historical data and alerts are available.
If the inverter connects to WiFi but remains offline in the app, the problem may involve internet access, account registration, cloud communication or the communication device itself.
Common Solar Inverter WiFi Problems and Troubleshooting
Inverter Cannot Connect to the WiFi Router
A failed connection can result from weak wireless coverage, an incorrect password, incompatible network settings or a communication device that has not entered setup mode correctly.
Start with these checks:
- Confirm that the router has an active internet connection.
- Re-enter the WiFi password carefully.
- Check the network frequency supported by the inverter.
- Move closer to the inverter during local configuration if the manufacturer’s instructions recommend it.
- Confirm that the WiFi dongle or communication device is correctly installed.
- Restart the router only if appropriate and safe for the network setup.
If the connection still fails, follow the manufacturer’s model-specific reset and pairing instructions. Avoid repeated factory resets because they may erase configuration details or require the installer to register the device again.
Monitoring App Shows the Inverter as Offline
An inverter can continue generating electricity even when its monitoring app shows an offline status. The app may be unable to receive fresh data because the router has lost internet access, the communication device has disconnected or the monitoring platform is temporarily unavailable.
Check whether the inverter’s own display shows normal operation. Then verify the router connection, communication-device indicators and monitoring account.
If the inverter is operating normally but the app is offline, investigate the communication path first. If the inverter also displays an electrical or hardware warning, contact the installer or a qualified technician rather than treating the issue as a WiFi problem.
Weak Signal, App Errors and Other Connection Issues
Inverters installed in garages, utility rooms, rooftop enclosures or areas separated from the router by thick walls may receive a weak WiFi signal.
Possible solutions include relocating the router, using a compatible WiFi extender or mesh access point, or choosing a supported Ethernet or cellular communication option.
App-related problems may also occur when a device has not been registered correctly, the owner account lacks access, the application is outdated or the QR code has been entered incorrectly.
Use the official application, verify the account permissions and check for applicable updates. If the connection remains unstable, ask the installer to inspect the communication device and confirm that the selected solution suits the site’s network conditions.
How to Monitor Solar Performance and Maintain Reliable Connectivity
Track Solar Generation and Historical Data
Once the connection is working, use the monitoring platform to review generation trends rather than checking only the latest power reading.
Solar output normally changes throughout the day. Weather, season, shading, dust, panel orientation and electricity system conditions can all affect production.
Compare daily or monthly generation with previous periods that have similar conditions. A sudden unexplained change may justify further investigation, but one low-production day does not necessarily indicate an equipment fault.
Remember that power and energy are different measurements. Power, usually shown in kilowatts (kW), indicates the rate of electricity generation at a particular moment. Energy, measured in kilowatt-hours (kWh), records electricity generated over time.
Use Alerts to Identify Potential Problems
Depending on the inverter and monitoring platform, alerts may identify communication failures, inverter warnings, grid-related issues or unexpected changes in operation.
An alert is a starting point for diagnosis, not proof that a solar panel or inverter has failed. For example, an offline notification may indicate an internet problem even while the system continues producing electricity.
Record the alert message, time and any relevant changes to the network or system. If an electrical fault persists, have it assessed by a qualified professional.
Monitoring is particularly useful for larger installations, where regular manual inspection of every system is impractical. It can help owners and service teams prioritise investigation and verify whether a reported problem has been resolved.
Keep the System and Monitoring Setup Up to Date
Reliable monitoring depends on both the solar equipment and the communication network.
Review the manufacturer’s recommendations for application updates, firmware updates and communication-device maintenance. Firmware changes should follow approved procedures because an incorrect update or interrupted process can affect operation.
Keep the router and communication device in a suitable location, and document the network setup for future servicing. Ensure the owner has access to the monitoring account rather than relying entirely on an installer’s login.
For new installations, solar products and system components can help you understand the equipment involved in a complete solar setup. For residential projects, rooftop solar solutions for homes provide further context on the overall system installation.
Conclusion
Solar inverter WiFi configuration helps homeowners and businesses access solar generation data, inverter status and available alerts remotely. The exact process depends on the inverter model, communication hardware, network requirements and manufacturer’s monitoring application.
For a reliable setup, confirm compatibility before starting, use the official app, enter the correct network details and verify that the device is registered to the appropriate owner account. If the app remains offline, check the router, wireless signal and communication device before assuming the inverter itself has failed.
WiFi monitoring does not directly increase solar generation, but it can make performance changes easier to identify and investigate. Combined with regular system checks and qualified maintenance, it provides useful visibility into the long-term operation of a solar installation.