Solar energy adoption is growing rapidly among homeowners, businesses, industries, and institutions looking to reduce electricity costs and improve energy independence. However, achieving the expected performance from a solar system depends heavily on proper installation planning and execution. A professionally installed system can operate efficiently for more than 25 years, while poor installation practices may significantly reduce generation and increase maintenance costs.
Understanding the solar panel installation process helps property owners make informed decisions, avoid common mistakes, and ensure long-term reliability. From evaluating electricity requirements to selecting the right equipment and completing electrical connections, every stage plays an important role in the overall success of the project.
This guide explains each step involved in solar installation for both residential and commercial properties.
Initial Planning Before Solar Installation
Successful solar projects begin long before the first panel reaches the rooftop. Proper planning ensures the system matches energy requirements, fits available space, and complies with local regulations.
Skipping the planning stage often results in poor system performance, higher costs, and lower return on investment.
Understanding Electricity Requirements
The first step in solar planning is analyzing electricity consumption patterns.
Property owners should review:
- Monthly electricity bills
- Average energy consumption
- Seasonal demand changes
- Peak usage hours
- Future electricity needs
For example:
| Monthly Consumption | Suggested Solar Capacity |
|---|---|
| 300 Units | 3 kW |
| 600 Units | 5 kW |
| 900 Units | 7–8 kW |
| 1,200 Units | 10 kW |
Businesses should also consider future expansion plans, electric vehicle charging, and additional equipment that may increase electricity demand.
Accurate consumption analysis prevents both oversizing and undersizing of the solar system.
Site Inspection and Rooftop Assessment
After understanding electricity requirements, installers conduct a detailed site inspection.
Important factors evaluated include:
- Rooftop size
- Roof orientation
- Shading from nearby structures
- Structural condition
- Accessibility for installation
- Cable routing possibilities
Solar panels perform best when installed on rooftops with maximum sunlight exposure and minimal shading throughout the day.
In India, south-facing rooftops with an optimal tilt angle generally provide the highest annual electricity generation.
Commercial projects may also involve structural engineers to verify rooftop load-bearing capacity.
Selecting the Right Solar System Design
The next stage involves choosing the most suitable solar configuration.
Common options include:
- Grid-tied solar systems
- Hybrid solar systems
- Off-grid solar systems
- Solar with battery storage
Selection depends on factors such as:
- Electricity consumption
- Backup requirements
- Budget
- Grid reliability
- Future expansion plans
Residential users often choose grid-connected systems for bill reduction, while businesses with frequent outages may prefer hybrid systems with battery backup.
A customized design improves system efficiency and maximizes financial returns.
Steps Involved in Solar Panel Installation
Once planning is complete, the physical installation process begins. Professional installation teams follow a structured sequence to ensure safety, performance, and regulatory compliance.
The installation timeline varies depending on system size, rooftop conditions, and project complexity.
Mounting Structure Installation on Rooftop
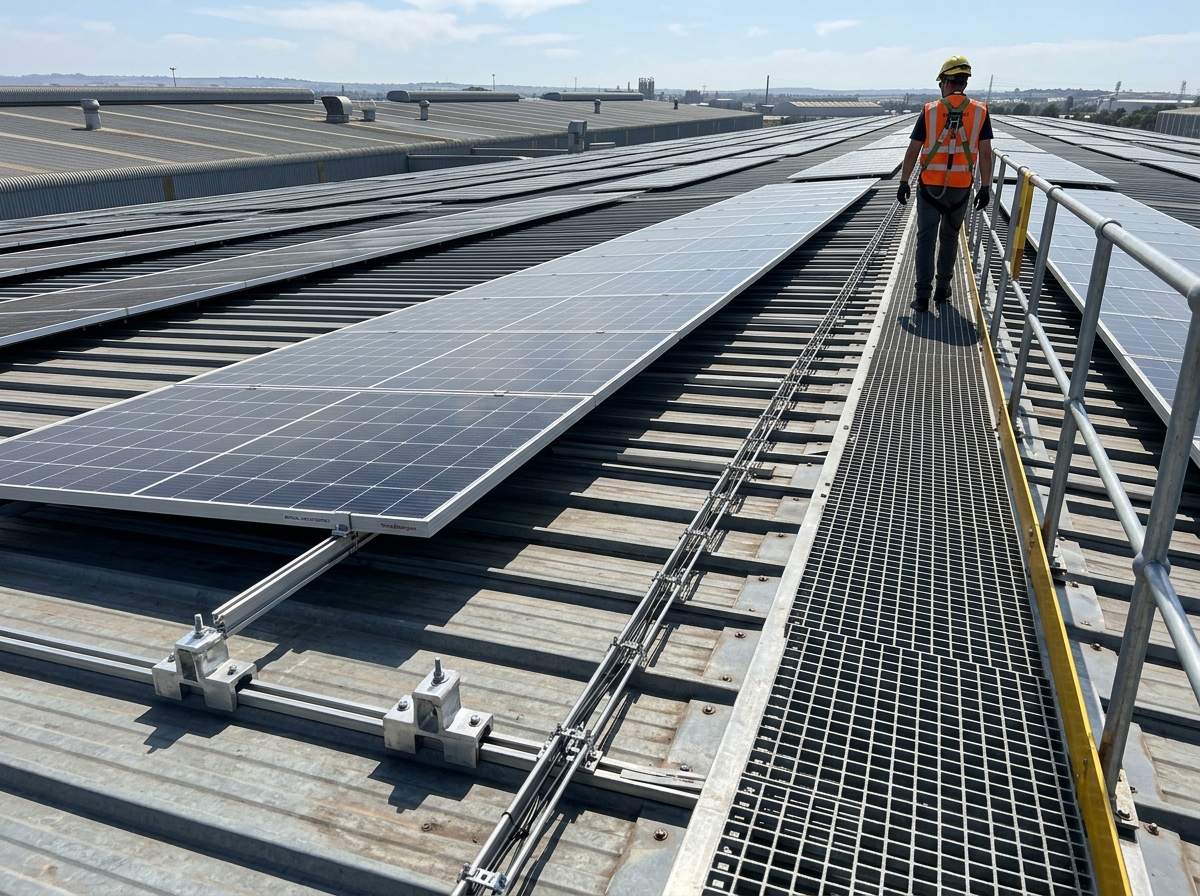
The mounting structure forms the foundation of the solar system.
Its primary functions include:
- Supporting panel weight
- Maintaining correct tilt angle
- Withstanding wind loads
- Preventing corrosion
- Ensuring long-term stability
Common mounting materials include:
- Hot-dip galvanized steel
- Aluminum structures
- Stainless steel fasteners
Proper alignment of the mounting structure directly affects energy generation because panel orientation determines sunlight exposure throughout the year.
Poor structural installation can reduce performance and increase maintenance issues over time.
Solar Panel Placement and Connection Process
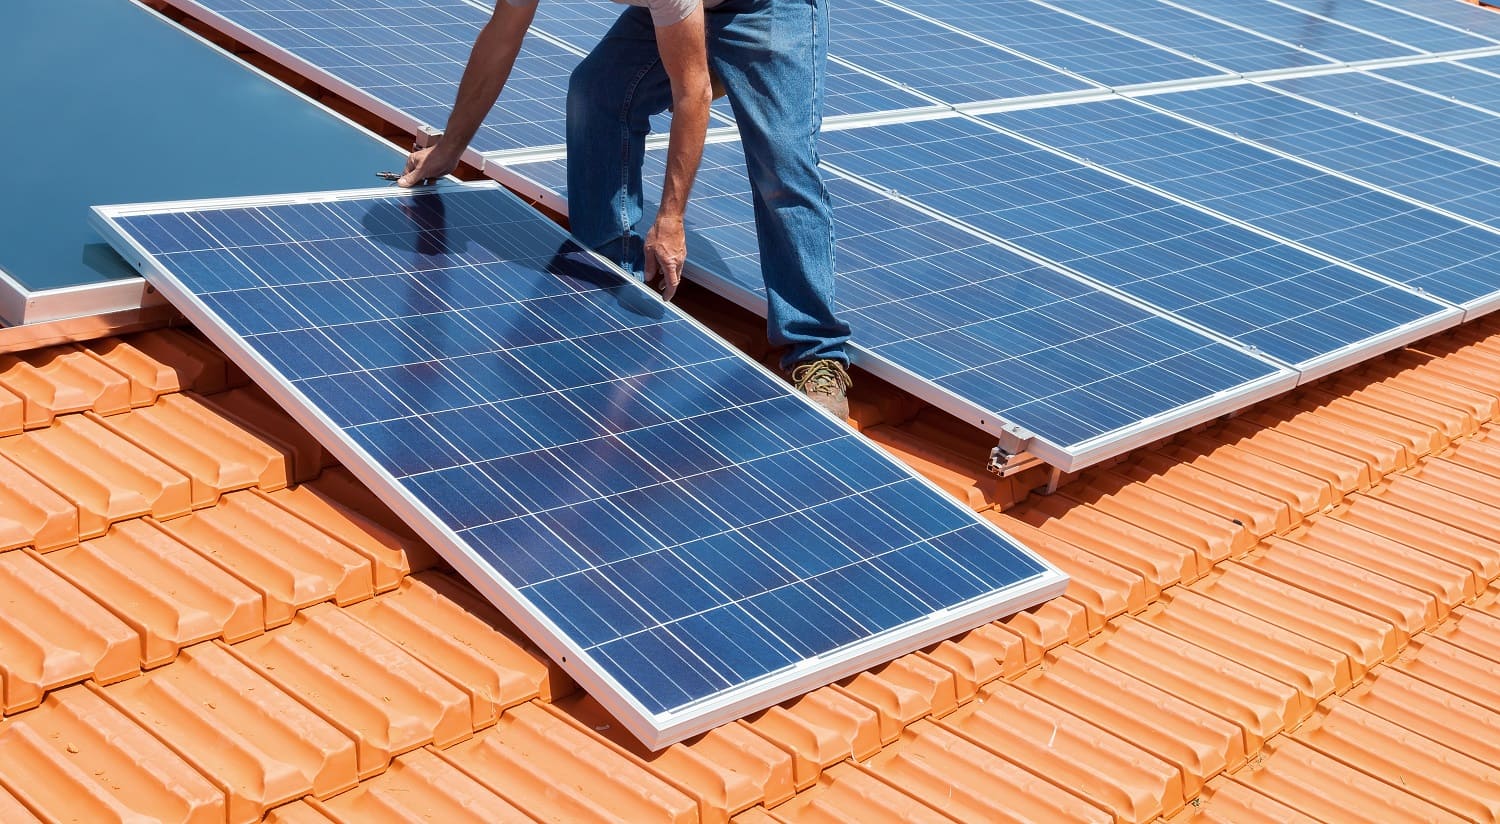
After the mounting structure is secured, solar panels are installed and electrically connected.
The process includes:
- Positioning panels according to design specifications.
- Securing modules using approved clamps.
- Connecting panels in series or parallel configurations.
- Routing DC cables safely.
- Testing electrical continuity.
Installers carefully optimize panel placement to avoid shading and maximize generation potential.
Even partial shading from antennas, water tanks, or nearby buildings can significantly reduce system output.
Professional cable management also improves safety and long-term reliability.
Inverter Installation and Electrical Setup
The inverter is often described as the brain of the solar system because it converts DC electricity generated by panels into usable AC electricity.
Installation includes:
- Mounting the inverter
- Connecting DC input cables
- Configuring AC output connections
- Installing protection devices
- Integrating monitoring systems
Additional components may include:
- DC isolators
- AC isolators
- Surge protection devices
- Earthing systems
- Monitoring equipment
Modern inverters often provide real-time monitoring through mobile applications, allowing users to track generation and system performance remotely.
Important Requirements for Solar Installation
A successful solar installation depends not only on quality equipment but also on proper infrastructure, safety compliance, and regulatory approvals. Evaluating these requirements before installation prevents delays and ensures smooth project execution.
Ignoring technical or legal requirements can lead to reduced performance, operational issues, or approval delays.
Rooftop Space and Structural Strength
Available rooftop space determines the maximum solar capacity that can be installed.
Typical space requirements include:
| Solar Capacity | Approximate Rooftop Area |
|---|---|
| 1 kW | 80–100 sq. ft. |
| 3 kW | 250–300 sq. ft. |
| 5 kW | 400–500 sq. ft. |
| 10 kW | 800–1,000 sq. ft. |
Apart from space availability, structural strength is equally important.
The roof must safely support:
- Solar panels
- Mounting structures
- Wind loads
- Maintenance personnel
Older buildings may require structural inspections before installation begins.
Commercial and industrial installations often involve additional engineering verification due to larger system sizes.
Electrical Connection and Safety Requirements
Solar systems involve high-voltage electrical equipment that must comply with safety standards.
Essential safety requirements include:
- Proper earthing systems
- Surge protection devices
- Circuit breakers
- DC isolators
- AC isolators
- Fire safety provisions
Professional electrical installation minimizes risks associated with electrical faults and improves long-term reliability.
Correct cable sizing and protection also reduce energy losses and improve overall system efficiency.
Permissions and Documentation Process
Many grid-connected solar installations require approvals from electricity distribution companies or local authorities.
Common documentation includes:
- Identity proof
- Property ownership documents
- Electricity bill copies
- Installation drawings
- Technical specifications
- Net metering applications
Approval requirements vary by state and electricity provider.
Working with experienced installers simplifies the documentation process and helps avoid administrative delays.
Common Mistakes During Solar Installation
Even high-quality equipment may perform poorly if installation mistakes occur. Understanding common issues helps homeowners and businesses select experienced installers and avoid costly errors.
Attention to detail during installation directly influences long-term energy generation.
Wrong System Size Selection
Incorrect system sizing remains one of the most common installation mistakes.
Oversized systems may result in:
- Higher upfront costs
- Underutilized generation
- Longer payback periods
Undersized systems can lead to:
- Continued dependence on grid electricity
- Lower financial savings
- Limited return on investment
Professional energy assessments and solar calculations help determine the correct capacity for current and future electricity needs.
Poor Panel Placement Affecting Generation
Solar panel orientation and shading have a major impact on system performance.
Common placement mistakes include:
- Installation near trees
- Shadows from water tanks
- Incorrect tilt angles
- Improper panel spacing
- North-facing installations in unsuitable regions
Even small areas of shading can reduce electricity generation significantly because panels connected in series operate as a single electrical string.
Proper site surveys minimize these risks.
Choosing Low Quality Solar Components
Selecting equipment solely based on price often leads to long-term problems.
Low-quality components may cause:
- Reduced efficiency
- Higher failure rates
- Increased maintenance costs
- Shorter operating life
- Warranty issues
Important components requiring careful selection include:
- Solar panels
- Inverters
- Mounting structures
- DC cables
- Connectors
- Protection devices
Investing in certified products from reputable manufacturers generally provides better long-term value.
After Installation Solar System Maintenance
Solar systems require relatively little maintenance compared to many other energy technologies. However, regular monitoring and periodic inspections help maintain optimal performance throughout the system’s lifespan.
Preventive maintenance can significantly improve long-term generation.
Checking System Performance Regularly
Routine performance checks help identify issues before they become major problems.
Important monitoring indicators include:
- Daily energy generation
- Inverter performance
- Voltage readings
- Error notifications
- Battery status if installed
Unexpected reductions in generation often indicate shading, dirt accumulation, or equipment issues that require attention.
Regular inspections improve reliability and reduce downtime.
Monitoring Electricity Generation
Most modern inverters provide online monitoring capabilities through mobile applications or web dashboards.
Users can monitor:
- Daily generation
- Monthly production
- Historical trends
- Consumption patterns
- Grid export data
Generation monitoring allows users to compare actual performance against expected output and identify potential issues quickly.
Data-driven monitoring also improves energy management decisions.
Importance of Professional Solar Support
Although solar systems require limited maintenance, professional support remains important for long-term performance.
Professional services may include:
- Annual inspections
- Electrical testing
- Panel cleaning
- Firmware updates
- Warranty support
- Performance optimization
Experienced service providers can identify developing issues that may not be visible during routine monitoring.
Regular professional maintenance often extends system lifespan and improves overall return on investment.
Conclusion
The solar panel installation process involves much more than simply placing panels on a rooftop. Proper planning, accurate system sizing, professional installation, and ongoing maintenance all contribute to the long-term success of a solar project.
From evaluating electricity requirements and rooftop conditions to selecting quality components and ensuring regulatory compliance, every stage affects performance and financial returns. Avoiding common installation mistakes and investing in reliable equipment can significantly improve energy generation over the system’s lifetime.
Whether for homes, businesses, or industrial facilities, a professionally installed solar system provides lower electricity bills, improved energy independence, and long-term environmental benefits.
FAQs
1. How long does solar panel installation take?
Most residential solar installations are completed within one to three days, while larger commercial projects may require several weeks depending on complexity and approvals.
2. How much rooftop space is required for solar installation?
A typical 1 kW solar system requires approximately 80–100 square feet of shadow-free rooftop area, although exact requirements depend on panel efficiency.
3. Are government approvals required for solar installation?
Yes. Grid-connected systems often require net metering approval and documentation from the local electricity distribution company.
4. How often should solar panels be maintained?
Basic cleaning and visual inspections should be performed periodically, while professional maintenance checks are generally recommended once or twice per year.
5. Can solar panels work during power cuts?
Standard grid-connected systems stop operating during outages for safety reasons. Hybrid and battery-supported systems can continue supplying electricity during power failures.